在很多一主多从数据库的场景下,很多开发同学为了复用DbContext往往采用创建一个包含所有DbSet<Model>父类通过继承派生出Write和ReadOnly类型来实现,其实可以通过命名注入来实现一个类型注册多个实例来实现。下面来用代码演示一下。
一、环境准备
数据库选择比较流行的postgresql,我们这里选择使用helm来快速的从开源包管理社区bitnami拉取一个postgresql的chart来搭建一个简易的主从数据库作为环境,,执行命令如下:
注意这里我们需要申明architecture为replication来创建主从架构,否则默认的standalone只会创建一个实例副本。同时我们需要暴露一下svc的端口用于验证以及预设一下root的密码,避免从secret重新查询。
helm repo add bitnami https://charts.bitnami.com/bitnamihelm install mypg --set global.postgresql.auth.postgresPassword=Mytestpwd#123 --set architecture=replication --set primary.service.type=NodePort --set primary.service.nodePorts.postgresql=32508 --set readReplicas.service.type=NodePort --set readReplicas.service.nodePorts.postgresql=31877 bitnami/postgresql
关于helm安装集群其他方面的细节可以查看文档,这里不再展开。安装完成后我们可以get po 以及get svc看到主从实例已经部署好了,并且服务也按照预期暴露好端口了(注意hl开头的是无头服务,一般情况下不需要管他默认我们采用k8s自带的svc转发。如果有特殊的负载均衡需求时可以使用他们作为dns服务提供真实后端IP来实现定制化的连接)


接着我们启动PgAdmin连接一下这两个库,看看主从库是否顺利工作
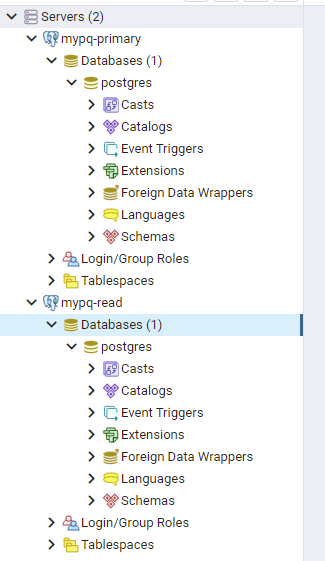
可以看到能够正确连接,接着我们创建一个数据库,看看从库是否可以正确异步订阅并同步过去
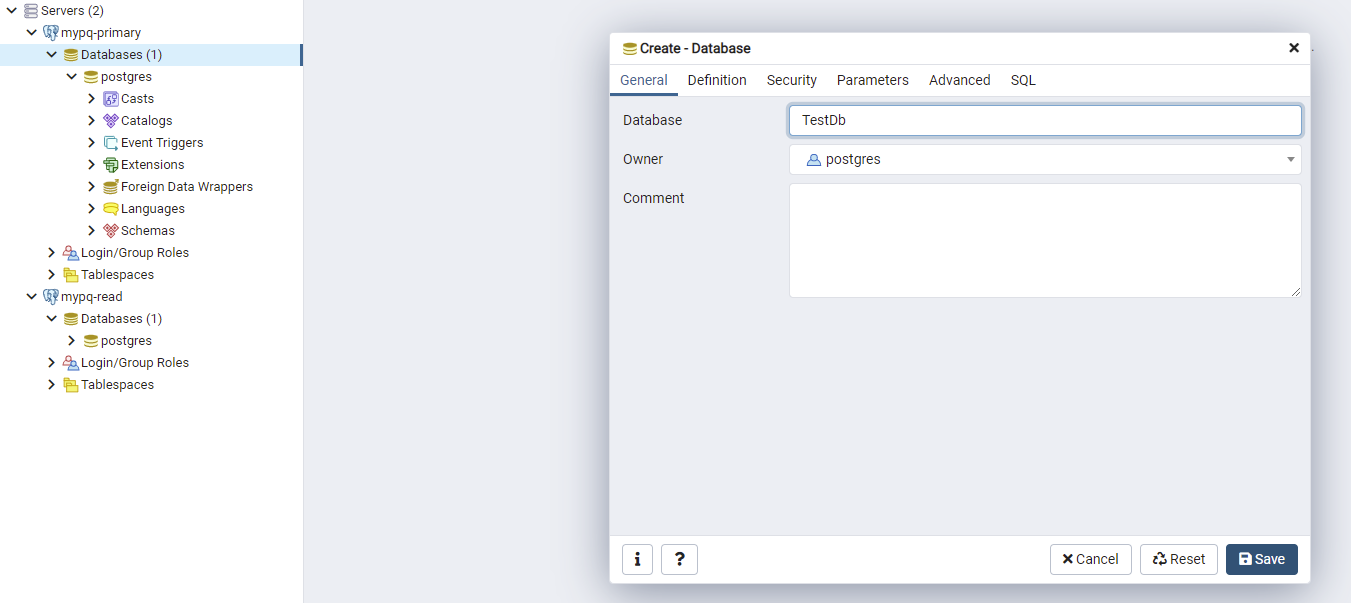
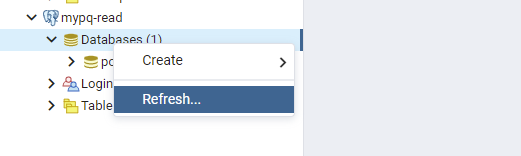
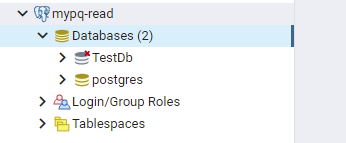
可以看到数据库这部分应该是可以正确同步了,当然为了测试多个从库,你现在可以通过以下命令来实现只读副本的扩容,接下来我们开始第二阶段。
kubectl scale --replicas=n statefulset/mypg-postgresql-read
二、实现单一上下文的多实例注入
首先我们创建一个常规的webapi项目,并且引入ef和pgqsql相关的nuget。同时由于需要做数据库自动化迁移我们引入efcore.tool包,并且引入autofac作为默认的DI容器(由于默认的DI不支持在长周期实例(HostedService-singleton)注入短周期实例(DbContext-scoped))
<ItemGroup> <PackageReference Include="Microsoft.EntityFrameworkCore" Version="6.0.1" /> <PackageReference Include="Microsoft.EntityFrameworkCore.Tools" Version="6.0.1"> <PrivateAssets>all</PrivateAssets> <IncludeAssets>runtime; build; native; contentfiles; analyzers; buildtransitive</IncludeAssets> </PackageReference> <PackageReference Include="Npgsql.EntityFrameworkCore.PostgreSQL" Version="6.0.3" /> <PackageReference Include="Autofac.Extensions.DependencyInjection" Version="7.2.0" /> </ItemGroup>
接着我们创建efcontext以及一个model
public class EfContext : DbContext { public DbSet<User> User { get; set; } public EfContext(DbContextOptions<EfContext> options) : base(options) { } } public class User { [Key] public int Id { get; set; } public string Name { get; set; } }然后我们创建对应的读写上下文的工厂用于自动化切换,并创建一个扩展函数用于注册上下文到多个实例,同时要记得创建对应的接口用于DI容器注册时的key
首先是我们核心的扩展库,这是实现多个实例注册的关键:
public static class MultipleEfContextExtension { private static AsyncLocal<ReadWriteType> type = new AsyncLocal<ReadWriteType>(); public static IServiceCollection AddReadWriteDbContext<Context>(this IServiceCollection services, Action<DbContextOptionsBuilder> writeBuilder, Action<DbContextOptionsBuilder> readBuilder) where Context : DbContext, IContextWrite, IContextRead { services.AddDbContext<Context>((serviceProvider, builder) => { if (type.Value == ReadWriteType.Read) readBuilder(builder); else writeBuilder(builder); }, contextLifetime: ServiceLifetime.Transient, optionsLifetime: ServiceLifetime.Transient); services.AddScoped<IContextWrite, Context>(services => { type.Value = ReadWriteType.Write; return services.GetService<Context>(); }); services.AddScoped<IContextRead, Context>(services => { type.Value = ReadWriteType.Read; return services.GetService<Context>(); }); return services; } }接着是我们需要申明的读写接口以及注册上下文工厂:
public interface IContextRead { } public interface IContextWrite { } public class ContextFactory<TContext> where TContext : DbContext { private ReadWriteType asyncReadWriteType = ReadWriteType.Read; private readonly TContext contextWrite; private readonly TContext contextRead; public ContextFactory(IContextWrite contextWrite, IContextRead contextRead) { this.contextWrite = contextWrite as TContext; this.contextRead = contextRead as TContext; } public TContext Current { get { return asyncReadWriteType == ReadWriteType.Read ? contextRead : contextWrite; } } public void SetReadWrite(ReadWriteType readWriteType) { //只有类型为非强制写时才变化值 if (asyncReadWriteType != ReadWriteType.ForceWrite) { asyncReadWriteType = readWriteType; } } public ReadWriteType GetReadWrite() { return asyncReadWriteType; } }同时修改一下EF上下文的继承,让上下文继承这两个接口:
public class EfContext : DbContext, IContextWrite, IContextRead
然后我们需要在program里使用这个扩展并注入主从库对应的连接配置
builder.Services.AddReadWriteDbContext<EfContext>(optionsBuilderWrite =>{ optionsBuilderWrite.UseNpgsql("User ID=postgres;Password=Mytestpwd#123;Host=192.168.1.x;Port=32508;Database=UserDb;Pooling=true;");}, optionsBuilderRead =>{ optionsBuilderRead.UseNpgsql("User ID=postgres;Password=Mytestpwd#123;Host=192.168.1.x;Port=31877;Database=UserDb;Pooling=true;");});同时这里需要注册一个启动服务用于数据库自动化迁移(注意这里需要注入写库实例,连接只读库实例则无法创建数据库迁移)
builder.Services.AddHostedService<MyHostedService>();
public class MyHostedService : IHostedService { private readonly EfContext context; public MyHostedService(IContextWrite contextWrite) { this.context = contextWrite as EfContext; } public async Task StartAsync(CancellationToken cancellationToken) { context.Database.EnsureCreated(); await Task.CompletedTask; } public async Task StopAsync(CancellationToken cancellationToken) { await Task.CompletedTask; } }再然后我们创建一些传统的工作单元和仓储用于简化orm的操作,并且在准备在控制器开始进行演示
首先定义一个简单的IRepository并实现几个常规的方法,接着我们在Repository里实现它,这里会有几个关键代码我已经标红
public interface IRepository<T> { bool Add(T t); bool Update(T t); bool Remove(T t); T Find(object key); IQueryable<T> GetByCond(Expression<Func<T, bool>> cond); } public class Repository<T> : IRepository<T> where T:class { private readonly ContextFactory<EfContext> contextFactory; private EfContext context { get { return contextFactory.Current; } } public Repository(ContextFactory<EfContext> contextFactory) { this.contextFactory = contextFactory; } public bool Add(T t) { contextFactory.SetReadWrite(ReadWriteType.Write); context.Add(t); return true; } public bool Remove(T t) { contextFactory.SetReadWrite(ReadWriteType.Write); context.Remove(t); return true; } public T Find(object key) { contextFactory.SetReadWrite(ReadWriteType.Read); var entity = context.Find(typeof(T), key); return entity as T; } public IQueryable<T> GetByCond(Expression<Func<T, bool>> cond) { contextFactory.SetReadWrite(ReadWriteType.Read); return context.Set<T>().Where(cond); } public bool Update(T t) { contextFactory.SetReadWrite(ReadWriteType.Write); context.Update(t); return true; } }可以看到这些方法就是自动化切库的关键所在,接着我们再实现对应的工作单元用于统一提交和事务,并注入到容器中,这里需要注意到工作单元开启事务后,传递的枚举是强制写,也就是会忽略仓储默认的读写策略,强制工厂返回写库实例,从而实现事务一致。
public interface IUnitofWork { bool Commit(IDbContextTransaction tran = null); Task<bool> CommitAsync(IDbContextTransaction tran = null); IDbContextTransaction BeginTransaction(); Task<IDbContextTransaction> BeginTransactionAsync(); } public class UnitOnWorkImpl<TContext> : IUnitofWork where TContext : DbContext { private TContext context { get { return contextFactory.Current; } } private readonly ContextFactory<TContext> contextFactory; public UnitOnWorkImpl(ContextFactory<TContext> contextFactory) { this.contextFactory = contextFactory; } public bool Commit(IDbContextTransaction tran = null) { var result = context.SaveChanges() > -1; if (result && tran != null) tran.Commit(); return result; } public async Task<bool> CommitAsync(IDbContextTransaction tran = null) { var result = (await context.SaveChangesAsync()) > -1; if (result && tran != null) await tran.CommitAsync(); return result; } public IDbContextTransaction BeginTransaction() { contextFactory.SetReadWrite(ReadWriteType.ForceWrite); return context.Database.BeginTransaction(); } public async Task<IDbContextTransaction> BeginTransactionAsync() { contextFactory.SetReadWrite(ReadWriteType.ForceWrite); return await context.Database.BeginTransactionAsync(); } }最后我们将工作单元和仓储注册到容器里:
serviceCollection.AddScoped<IUnitofWork, UnitOnWorkImpl<Context>>(); serviceCollection.AddScoped<ContextFactory<Context>>(); typeof(Context).GetProperties().Where(x => x.PropertyType.IsGenericType && typeof(DbSet<>).IsAssignableFrom(x.PropertyType.GetGenericTypeDefinition())).Select(x => x.PropertyType.GetGenericArguments()[0]).ToList().ForEach(x => serviceCollection.AddScoped(typeof(IRepository<>).MakeGenericType(x), typeof(Repository<>).MakeGenericType(x)));
这里的关键点在于开启事务后所有的数据库请求必须强制提交到主库,而非事务情况下那种根据仓储操作类型去访问各自的读写库,所以这里传递一个ForceWrite作为区分。基本的工作就差不多做完了,现在我们设计一个控制器来演示,代码如下:
[Route("{Controller}/{Action}")] public class HomeController : Controller { private readonly IUnitofWork unitofWork; private readonly IRepository<User> repository; public HomeController(IUnitofWork unitofWork, IRepository<User> repository) { this.unitofWork = unitofWork; this.repository = repository; } [HttpGet] [Route("{id}")] public string Get(int id) { return JsonSerializer.Serialize(repository.Find(id), new JsonSerializerOptions() { Encoder = JavaScriptEncoder.Create(UnicodeRanges.All) }); } [HttpGet] [Route("{id}/{name}")] public async Task<bool> Get(int id, string name) { using var tran = await unitofWork.BeginTransactionAsync(); var user = repository.Find(id); if (user == null) { user = new User() { Id = id, Name = name }; repository.Add(user); } else { user.Name = name; repository.Update(user); } unitofWork.Commit(tran); return true; } [HttpGet] [Route("/all")] public async Task<string> GetAll() { return JsonSerializer.Serialize(await repository.GetByCond(x => true).ToListAsync(), new JsonSerializerOptions() { Encoder = JavaScriptEncoder.Create(UnicodeRanges.All) }); }控制器就是比较简单的三个action,根据id和查所有以及开启一个事务做事务查询+编辑 or 新增。现在我们启动项目,来测试一下接口是否正常工作
我们分别访问/all /home/get/1 和/home/get/1/小王 ,然后再次访问/all和get/1。可以看到成功的写入了。
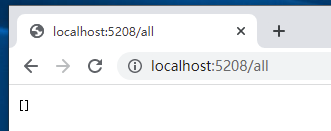
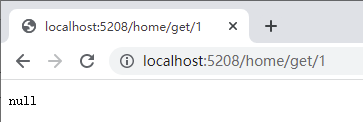


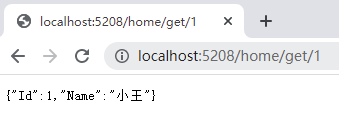
再看看数据库的情况,可以看到主从库都已经成功同步了。
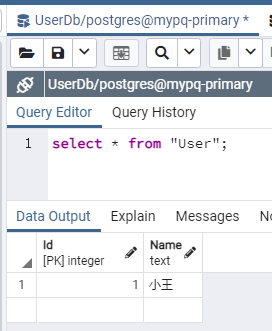

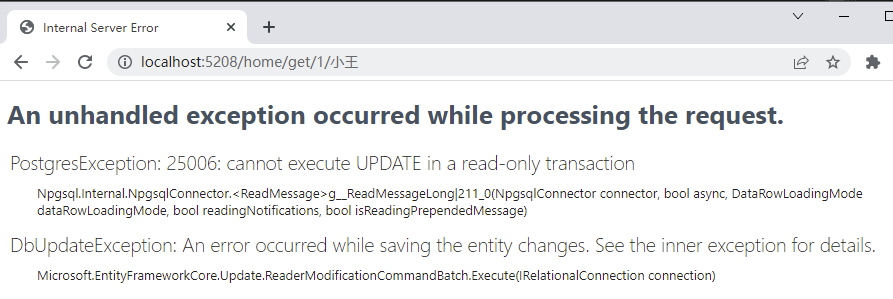
现在我们尝试用事务连接到从库试试能否写入,我们修改以下代码:让上下文工厂获取到枚举值是ForceWrite时返回错误的只读实例试试:
public class ContextFactory<TContext> where TContext : DbContext { ...... public TContext Current { get { return readWriteType.Value == ReadWriteType.ForceWrite ? contextRead : contextWrite; } } ...... }接着重启项目,访问/home/get/1/小王,可以看到连接从库的情况下无法正常写入,同时也验证了确实可以通过这样的方式让单个上下文类型按需连接数据库了。