Ocelot使用与设置路由Routing
一、安装Ocelot
在程序包管理器控制台输入以下命令安装Ocelot
Install-Package Ocelot
二、新建两个项目
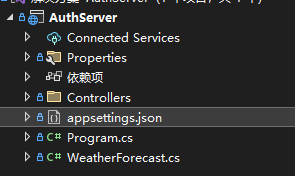
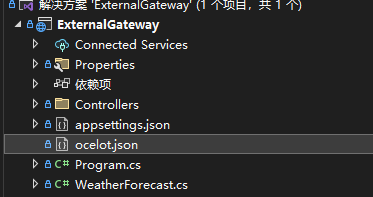
我们新建两个.Net Core WebAPI项目如下:


直接就是最初始化的项目,只是我们在ExternalGateway项目中安装Ocelot,并且添加一个ocelot.json文件(也可以添加多个配置文件然后合并),文件内容如下:
{
  "GlobalConfiguration": {
    "BaseUrl": "https://localhost:5000"
  },
  "Routes": [
    {
      "DownstreamPathTemplate": "/{everything}",
      "DownstreamScheme": "https",
      "DownstreamHostAndPorts": [
        {
          "Host": "localhost",
          "Port": 5001
        }
      ],
      "UpstreamPathTemplate": "/api/{everything}",
      "UpstreamHttpMethod": [ "Get", "Post" ]
    }
  ]
}
然后注入Ocelot的服务和配置请求管道
builder.Configuration.SetBasePath(Directory.GetCurrentDirectory()).AddJsonFile("ocelot.json", optional: false, reloadOnChange: true);
builder.Services.AddOcelot();
//......
app.UseOcelot().Wait();
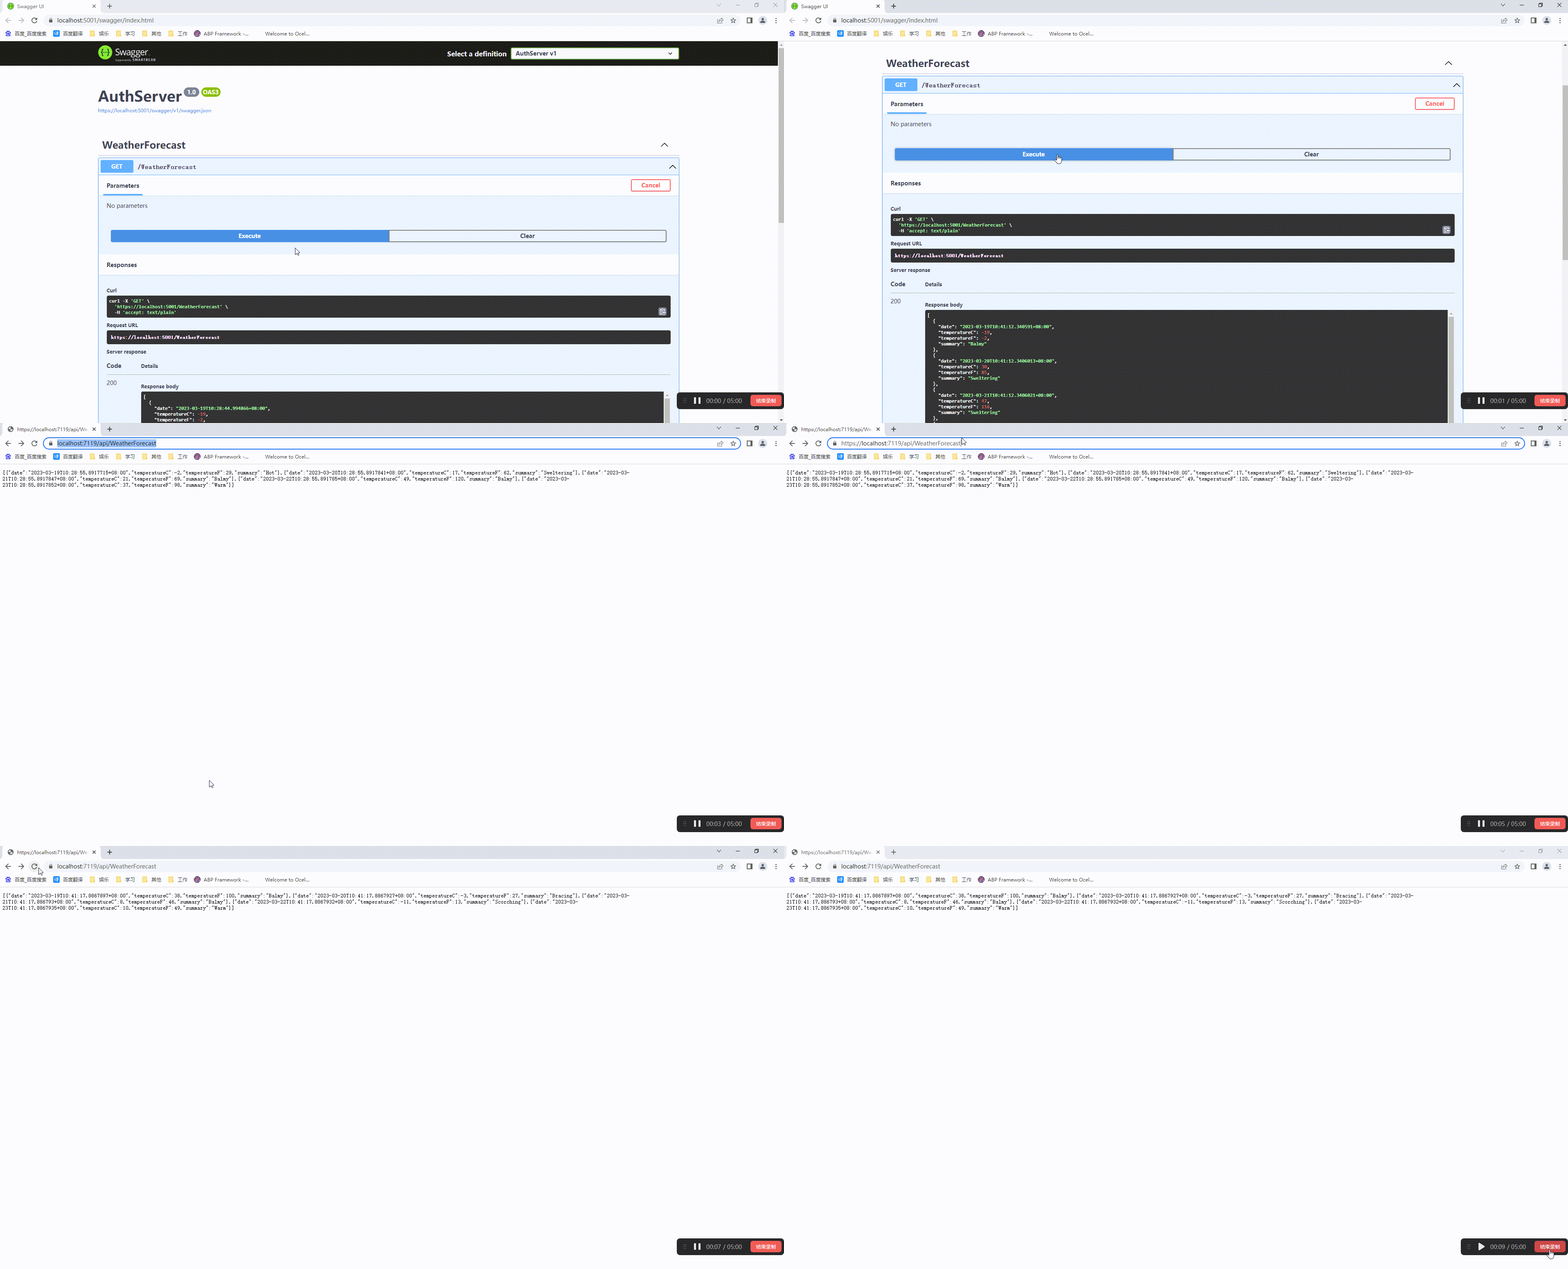
然后我们运行两个项目就能通过ExternalGateway项目地址访问uthServer的地址

三、Routing的参数配置说明
1、路由
    {
      "DownstreamPathTemplate": "/{everything}",
      "DownstreamScheme": "https",
      "DownstreamHostAndPorts": [
        {
          "Host": "localhost",
          "Port": 5001
        }
      ],
      "UpstreamPathTemplate": "/api/{everything}",
      "UpstreamHttpMethod": [ "Get", "Post" ]
    }
其中DownstreamPathTemplate、DownstreamScheme和DownstreamHostAndPorts定义了请求将被转发到的URL。
参数DownstreamHostAndPorts是一个集合定义了请求转到任何下游服务的主机和端口,一般是单个即可,但是如果存在负载均衡到下游服务那就需要填写多个,并进行相关的负载均衡的配置。
参数UpstreamPathTemplate是标识用于给定下游请求的DownstreamPathTemplate对应的URL。
参数UpstreamHttpMethod便于区分不同的HTTP的请求到相同的URL,可以设置为空允许全部的请求。
在Ocelot中可以以{something}的形式为模板中的变量添加占位符,但是该占位符变量必须同时出现在DownstreamPathTemplate和UpstreamPathTemplate的上下游配置中,Ocelot会尝试进行占位符值的替换。
默认请求路径的配置是不区分大小写的,如果需要修改通过以下参数配置:
"RouteIsCaseSensitive": true
2、全部捕获
在Ocelot中还支持捕获全部路径的路由,用户可以指定他们想要匹配的所有流量。
像是如下的配置,所有的请求都将被代理。但是占位符{url}的名称不重要,可以使用任何名称。
{
    "DownstreamPathTemplate": "/{url}",
    "DownstreamScheme": "https",
    "DownstreamHostAndPorts": [
            {
                "Host": "localhost",
                "Port": 80,
            }
        ],
    "UpstreamPathTemplate": "/{url}",
    "UpstreamHttpMethod": [ "Get" ]
}
但是全部捕获的优先级是最低的,如果存在其他配置,将会优先于此匹配。
3、优先级
可以通过Priorty参数来这是匹配上游请求路径的优先级,如下配置的情况下请求地址为/goods/delete的时候优先匹配/goods/{catchAll},因为0是最低的优先级,Priorty越大优先级越高。
{
    "UpstreamPathTemplate": "/goods/{catchAll}"
    "Priority": 0
}
{
    "UpstreamPathTemplate": "/goods/delete"
    "Priority": 1
}
4、上游主机
参数UpstreamHost允许我们设置该路由的上游主机,配置后仅当请求头的主机为我们的配置值,才会匹配该路由配置。如果没有配置UpstreamHost那就是任何主机头都可以。
{
    "DownstreamPathTemplate": "/",
    "DownstreamScheme": "https",
    "DownstreamHostAndPorts": [
            {
                "Host": "10.0.10.1",
                "Port": 80,
            }
        ],
    "UpstreamPathTemplate": "/",
    "UpstreamHttpMethod": [ "Get" ],
    "UpstreamHost": "somedomain.com"
}
如上述代码仅当主机头为somedomain.com的请求,才会匹配上述路由。如果存在两个相同的路由配置,但是一个设置了UpstreamHost一个没有设置,这样会匹配设置了的路由。
5、查询字符串
在Ocelot中允许将查询字符串作为DownstreamPathTemplate的一部分,如下所示上游路径模板中的{unitId}将作为下游路径模板中的查询字符串参数unitId的值。
{
    "Routes": [
        {
            "DownstreamPathTemplate": "/api/subscriptions/{subscriptionId}/updates?unitId={unitId}",
            "UpstreamPathTemplate": "/api/units/{subscriptionId}/{unitId}/updates",
            "UpstreamHttpMethod": [
                "Get"
            ],
            "DownstreamScheme": "http",
            "DownstreamHostAndPorts": [
                {
                    "Host": "localhost",
                    "Port": 50110
                }
            ]
        }
    ],
    "GlobalConfiguration": {
    }
}
此外Ocelot还允许将查询字符串放置在UpstreamPathTemplate中,以便将某些查询匹配到对应的服务,如下所示只能匹配查询参数为unitId的请求。
{
    "Routes": [
        {
            "DownstreamPathTemplate": "/api/units/{subscriptionId}/{unitId}/updates",
            "UpstreamPathTemplate": "/api/subscriptions/{subscriptionId}/updates?unitId={unitId}",
            "UpstreamHttpMethod": [
                "Get"
            ],
            "DownstreamScheme": "http",
            "DownstreamHostAndPorts": [
                {
                    "Host": "localhost",
                    "Port": 50110
                }
            ]
        }
    ],
    "GlobalConfiguration": {
    }
}
四、聚合路由
在Ocelot中允许使用聚合路由,聚合路由就是将多个路由的结果结合成一个进行返回。
首先我们将ocelot.json改为下面的配置,可以看到两个路由下各自有自己的Key,然后多了一个聚合路由Aggregates里面设置了对应的两个Key,并且该聚合路由的路径也被设置为了/getweatherforecastaggregate/{everything}
{
  "GlobalConfiguration": {
    "BaseUrl": "https://localhost:5000"
  },
  "Routes": [
    {
      "DownstreamPathTemplate": "/{everything}",
      "DownstreamScheme": "https",
      "DownstreamHostAndPorts": [
        {
          "Host": "localhost",
          "Port": 5001
        }
      ],
      "UpstreamPathTemplate": "/api/{everything}",
      "UpstreamHttpMethod": [ "Get", "Post" ],
      "Key": "WeatherForecast1"
    },
    {
      "DownstreamPathTemplate": "/{everything}",
      "DownstreamScheme": "https",
      "DownstreamHostAndPorts": [
        {
          "Host": "localhost",
          "Port": 5001
        }
      ],
      "UpstreamPathTemplate": "/api2/{everything}",
      "UpstreamHttpMethod": [ "Get", "Post" ],
      "Key": "WeatherForecast2"
    }
  ],
  "Aggregates": [
    {
      "RouteKeys": [
        "WeatherForecast1",
        "WeatherForecast2"
      ],
      "UpstreamPathTemplate": "/getweatherforecastaggregate/{everything}"
    }
  ]
}
然后我们请求对应的地址就可以看到返回了以两个Key为键的对应路由地址接口返回的信息,如果接口报错则返回空。这里需要注意,聚合路由Aggregates中的上游路径UpstreamPathTemplate其实对应的就是Route中的UpstreamPathTemplate,也就是说路由中的上游路径就是聚合路由的下游路径,对应的变量占位符啥的都会传递。

如果我们不满意返回的结果可以自定义聚合路由的来处理返回的结果,我们现在将oeclot.json中的聚合路由修改如下增加Aggregator参数
  "Aggregates": [
    {
      "RouteKeys": [
        "WeatherForecast1",
        "WeatherForecast2"
      ],
      "UpstreamPathTemplate": "/getweatherforecastaggregate/{everything}",
      "Aggregator": "MyAggregator"
    }
  ]
然后我们创建一个与Aggregator参数同名的重写类,并且继承IDefinedAggregator接口重写Aggregate(List<HttpContext> responses)方法如下:
    public class MyAggregator: IDefinedAggregator
    {
        public async Task<DownstreamResponse> Aggregate(List<HttpContext> responses)
        {
            var one = await ((DownstreamResponse)responses[0].Response.HttpContext.Items["DownstreamResponse"]).Content.ReadAsStringAsync();
            //Response.Body不能获取,只能通过HttpContext.Items
            //using var resReader1 = new StreamReader(responses[0].Response.Body);
            //var one = await resReader1.ReadToEndAsync();
            var two = await ((DownstreamResponse)responses[1].Response.HttpContext.Items["DownstreamResponse"]).Content.ReadAsStringAsync();
            var my = $"\"{Guid.NewGuid()}\":{{comment:\"我是自定义聚合器返回内容\"}}";
            var merge = $"{one}, {two},{my}";
            List<Header> headers = new List<Header>();
            return await Task.FromResult(new DownstreamResponse(new StringContent(merge), HttpStatusCode.OK, headers, "some reason"));
        }
    }
然后在注册该类,可以是瞬态注册等此处单例
builder.Services.AddOcelot().AddSingletonDefinedAggregator<MyAggregator>();
然后我们访问地址就可看到返回了我们添加的内容

需要注意的是,聚合路由只支持Get请求聚合,并且下游服务返回如果是404则返回空,只返回json字符串。
