文章已收录至https://lichong.work,转载请注明原文链接。
ps:欢迎关注公众号“Fun肆编程”或添加我的私人微信交流经验??
首先在linux系统下安装gcc编译环境,执行:
yum install gcc-c++ -y确保当前系统可以编译nginx及其依赖包。
同时,安装Nginx还需要以下依赖需要进行安装:
pcre-9.37.tar.gzopenssl-1.0.1t.tar.gzzlib-1.2.8.tar.gznginx-1.11.1.tar.gz下面通过两种安装方式安装这些依赖,可灵活选择安装方式
cd /usr/srcwget http://downloads.sourceforge.net/project/pcre/pcre/8.37/pcre-8.37.tar.gztar -xvf pcre-8.37.tar.gzcd pcre-8.37./configure make && make installpcre-config --versionyum -y install make zlib zlib-devel gcc-c++ libtool openssl openssl-devel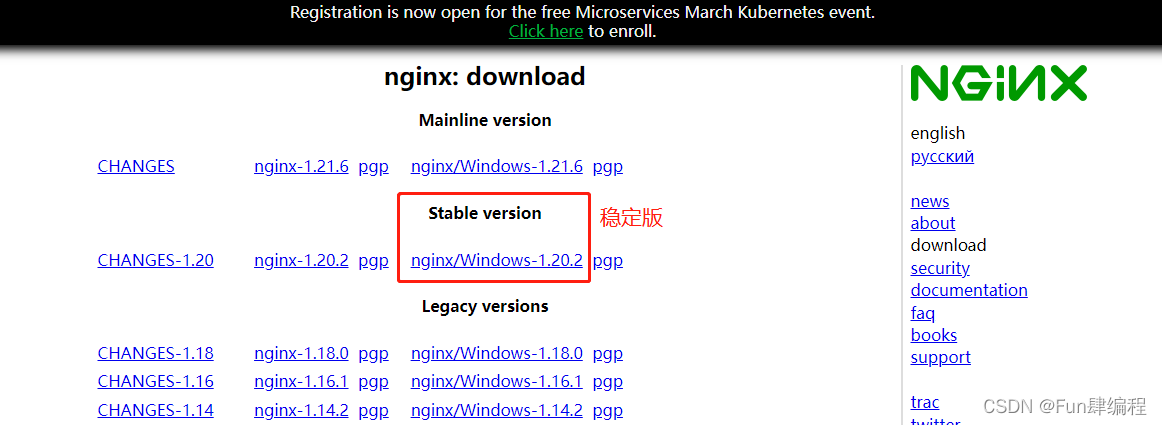
cd /usr/srctar -xvf nginx-1.20.2.tar.gzcd nginx-1.20.2./configuremake && make installcd /usr/local/nginx/sbin ./nginxps -ef | grep nginxcd /usr/local/nginx/confvi nginx.conf其中
server { listen 80; server_name localhost; #charset koi8-r; #access_log logs/host.access.log main; location / { root html; index index.html index.htm; }}如果要配置固定端口号,则在server中的listen中修改端口号。此处默认不改动。
sudo firewall-cmd --add-port=80/tcp --permanentfirewall-cmd --reload
以下命令基于已经安装成功Nginx后在Nginx的sbin文件夹下执行。
cd /usr/local/nginx/sbin/ ./nginx –v./nginx./nginx -s stop./nginx -s reload这里以已经配置好的nginx反向代理tomcat为例。实现效果则为访问nginx地址展示tomcat页面。
cd /usr/local/nginx/confvi nginx.conf首先将server块中的server_name修改为该linux系统的ip地址。
然后在server块中的location当中配置需要请求转发的路径,其中proxy_pass则是tomcat的地址。
location / { root html; proxy_pass http://127.0.0.1:8080; }nginx配备多台服务器的情况下,平均访问每台机器。
此次以两台tomcat服务器为例,一台端口为8080,一台端口为8081。
配置服务器地址
upstream myserver{ server xxx.xx.xx.14:8080; server xxx.xx.xx.14:8081; }server{ listen 80; server_name xxx.xx.xx.14 #charset koi8-r; #access_log logs/host.access.log main; location / { proxy_pass http://myserver; //这里的myserver是上面配置的upstream root html; index index.html index.htm; }}默认情况下是轮询策略,到nginx服务器中的每个请求按时间顺序逐一分配到不同的后端服务器,如果后端服务器down调则自动剔除该服务器
weight默认为1,权重越高被分配的客户端越多,可根据服务器性能来配置相应的权重。
可在upstream中配置
upstream myserver{ server xxx.xx.xx.14:8080 weight=2;//数值越大则需要处理的请求越多 server xxx.xx.xx.14:8081; }每个请求按照访问ip的hash结果分配,也就是说同一ip访问nginx会一直讲请求发送给同一台服务器。
upstream myserver{ ip_hash; server xxx.xx.xx.14:8080 ; server xxx.xx.xx.14:8081; }需要注意的nginx1.3.1版本之前ip_hash不能和权重weight共同使用。
当有服务器需要剔除的时候,需要手动down掉
upstream myserver{ ip_hash; server xxx.xx.xx.14:8080 ; server xxx.xx.xx.14:8081; fair;}按后端服务器的响应时间来分配请求,响应时间短的优先分配
把请求转发给连接数较少的后端服务器。在这种方式下可以达到更好的负载均衡效果
upstream myserver{ least_conn; server xxx.xx.xx.14:8080 ; server xxx.xx.xx.14:8081; }按访问url的hash结果来分配请求,使每个url定向到同一个后端服务器。
upstream myserver{ hash $request_uri; server xxx.xx.xx.14:8080 ; server xxx.xx.xx.14:8081; }我们通过使用正则表达式来匹配过滤,以此来达到动态页面和静态页面的操作可以交给不同的服务器。
以下配置实现的是当为jpg,js和css文件的时候则访问本地html文件里的静态资源,如果访问的是动态资源则由8080端口tomcat服务器处理
以下是nginx.conf文件的配置
server{listen 80;server_name xxx.xx.xx.14#charset koi8-r;#access_log logs/host.access.log main;location ~ \.jpg$ { root html; expires 30d;}location ~ \.js$ { root html; expires 30d;}location ~ \.css$ { root html; expires 30d;}location ~ .*$ { proxy_pass http://localhost:8080}}这里介绍下双机高可用,主要分为两种:
(一).Nginx+keepalived双机主从模式
一台主服务器和一台热备服务器。正常情况下主服务器提供服务,只有当主服务器发生故障的时候热备服务器才会接管主服务器。但是当主服务器不出现故障的时候,则热备服务器就会处于浪费状态
(二).Nginx+keepalived双机主主模式
使用两台负载均衡服务器,互为主备,两台服务器都属于活动状态,只有当其中一台发生故障时由另一台接管故障服务器的请求。这种方案比较经济实惠。
下面分别介绍下这两种模式的配置:
配备两台nginx服务器,每台中配置keepalived。
yum install keepalived -ycd /etc/keepalived/vi keepalived.conf主服务器配置如下
vrrp_instance VI_1 { state MASTER //主从划分,主服务器为MASTER从服务器为BACKUP interface eth0 //设置为当前网卡(通过ifconfig查看) virtual_router_id 51 //主从服务器设置相同的id priority 100 //优先级 主服务器的优先级设置为较大,从服务器次之 advert_int 1 authentication { auth_type PASS auth_pass 1111 } virtual_ipaddress { xxx.xx.xx.111 //虚拟地址,浏览器通过该地址访问,主从配置相同 }}从服务器配置如下
vrrp_instance VI_1 { state BACKUP interface eth0 //设置为当前网卡(通过ifconfig查看) virtual_router_id 51 priority 90 advert_int 1 authentication { auth_type PASS auth_pass 1111 } virtual_ipaddress { xxx.xx.xx.111 }}主从服务器都在keepalived.conf中添加如下检测脚本检测脚本
vrrp_script chk_http_port { script "usr/local/src/nginx_check.sh" //nginx_check.sh所在位置,该文件通过下个步骤中新建 interval 2 weight2}在script配置路径下配置该检测脚本
cd /usr/local/src/将以下脚本生成nginx_check.sh文件放到 usr/local/src/中
#!/bin/bashA=`ps -C nginx – no-header |wc -l` if [ $A -eq 0 ];then /usr/local/nginx/sbin/nginx sleep 2 if [ `ps -C nginx --no-header |wc -l` -eq 0 ];then killall keepalived fi fi./nginxsystemctl start keepalived.service访问keepalived.conf中配置的虚拟ip地址,可以正常访问服务器。将主服务器中的nginx中停止,仍可正常访问,此时访问的实际上是从服务器上的资源
在两台机器上都安装nginx和keepalived。具体安装方式见上。
! Configuration File for keepalived global_defs { notification_email { acassen@firewall.loc failover@firewall.loc sysadmin@firewall.loc } notification_email_from Alexandre.Cassen@firewall.loc smtp_server 192.168.200.1 smtp_connect_timeout 30 router_id LVS_DEVEL} vrrp_script chk_http_port { script "usr/local/src/nginx_check.sh" interval 2 #(检测脚本执行的间隔) weight 2 } vrrp_instance VI_1 { state MASTER interface eno16777736 virtual_router_id 51 priority 100 advert_int 1 authentication { auth_type PASS auth_pass 1111 } virtual_ipaddress { xxx.xx.xx.112 }} vrrp_instance VI_2 { state BACKUP interface eno16777736 virtual_router_id 52 priority 90 advert_int 1 authentication { auth_type PASS auth_pass 1111 } virtual_ipaddress { xxx.xx.xx.113 }}! Configuration File for keepalivedglobal_defs { notification_email { acassen@firewall.loc failover@firewall.loc sysadmin@firewall.loc } notification_email_from Alexandre.Cassen@firewall.loc smtp_server 192.168.200.1 smtp_connect_timeout 30 router_id LVS_DEVEL}vrrp_script chk_http_port { script "usr/local/src/nginx_check.sh" interval 2 #(检测脚本执行的间隔) weight 2}vrrp_instance VI_1 { state BACKUP interface eno16777736 virtual_router_id 51 priority 90 advert_int 1 authentication { auth_type PASS auth_pass 1111 } virtual_ipaddress { xxx.xx.xx.112 }}vrrp_instance VI_2 { state MASTER interface eno16777736 virtual_router_id 52 priority 100 advert_int 1 authentication { auth_type PASS auth_pass 1111 } virtual_ipaddress { xxx.xx.xx.113 }}在双机主主模式下,两台服务器都属于活动状态,只有当其中一台发生故障时由另一台接管故障服务器的请求。
可参考文章:【工具-Nginx】Nginx高性能通用配置文件-注释版-支持防刷限流、可控高并发、HTTP2、防XSS、Gzip、OCSP Stapling、负载、SSL
文章已收录至https://lichong.work,转载请注明原文链接。
ps:欢迎关注公众号“Fun肆编程”或添加我的私人微信交流经验??
【前端-开发环境】使用NVM实现不同nodejs版本的自由切换(NVM完整安装使用手册)
【前端-NPM私服】内网使用verdaccio搭建私有npm服务器
【前端-IE兼容】Win10和Win11使用Edge调试前端兼容IE6、IE7、IE8、IE9、IE10、IE11问题
【工具-Shell脚本】java程序产品包模板-linux和windows通用shell启动停止脚本(无需系统安装Java运行环境)
【工具-Nginx】Nginx高性能通用配置文件-注释版-支持防刷限流、可控高并发、HTTP2、防XSS、Gzip、OCSP Stapling、负载、SSL
【工具-WireShark】网络HTTP抓包使用教程
【后端-maven打包】通过profile标签解决同时打jar包 war包需求
【后端-SpringCache】基于Spring Cache封装一个能够批量操作的Redis缓存记录下踩坑历程(pipeline或mget封装)
【后端-SkyWalking】SkyWalking前后端开发环境搭建详细教程步骤-6.x/7.x/8.x版本通用-插件二次开发利器(一)
?欢迎为耿直少年点赞、关注、收藏!!!
??????